Wednesday, November 9, 2011

Follow my friend!

My friend April is awesome!  She recently started a blog.  She's a savvy shopper, both online and offline.  She's also very crafty.  Here's a link:

http://alabamafrugalista.blogspot.com/

Also, if you have a few seconds to spare, we both have ads on the right side of our pages.  It may not be anything you care about, but we get a few cents if you just click on it.  Eventually, when the total gets to a certain amount, we will get paid for it.  It's not much, but it's money.  So would you please click our ads?  This stay-home-mom would GREATLY appreciate it.  I'm gonna do my best to sign in every day just to click April's ads and help her out.  =)

I haven't tried any new blog-worthy recipes lately.  I will tell you what we made last night though.
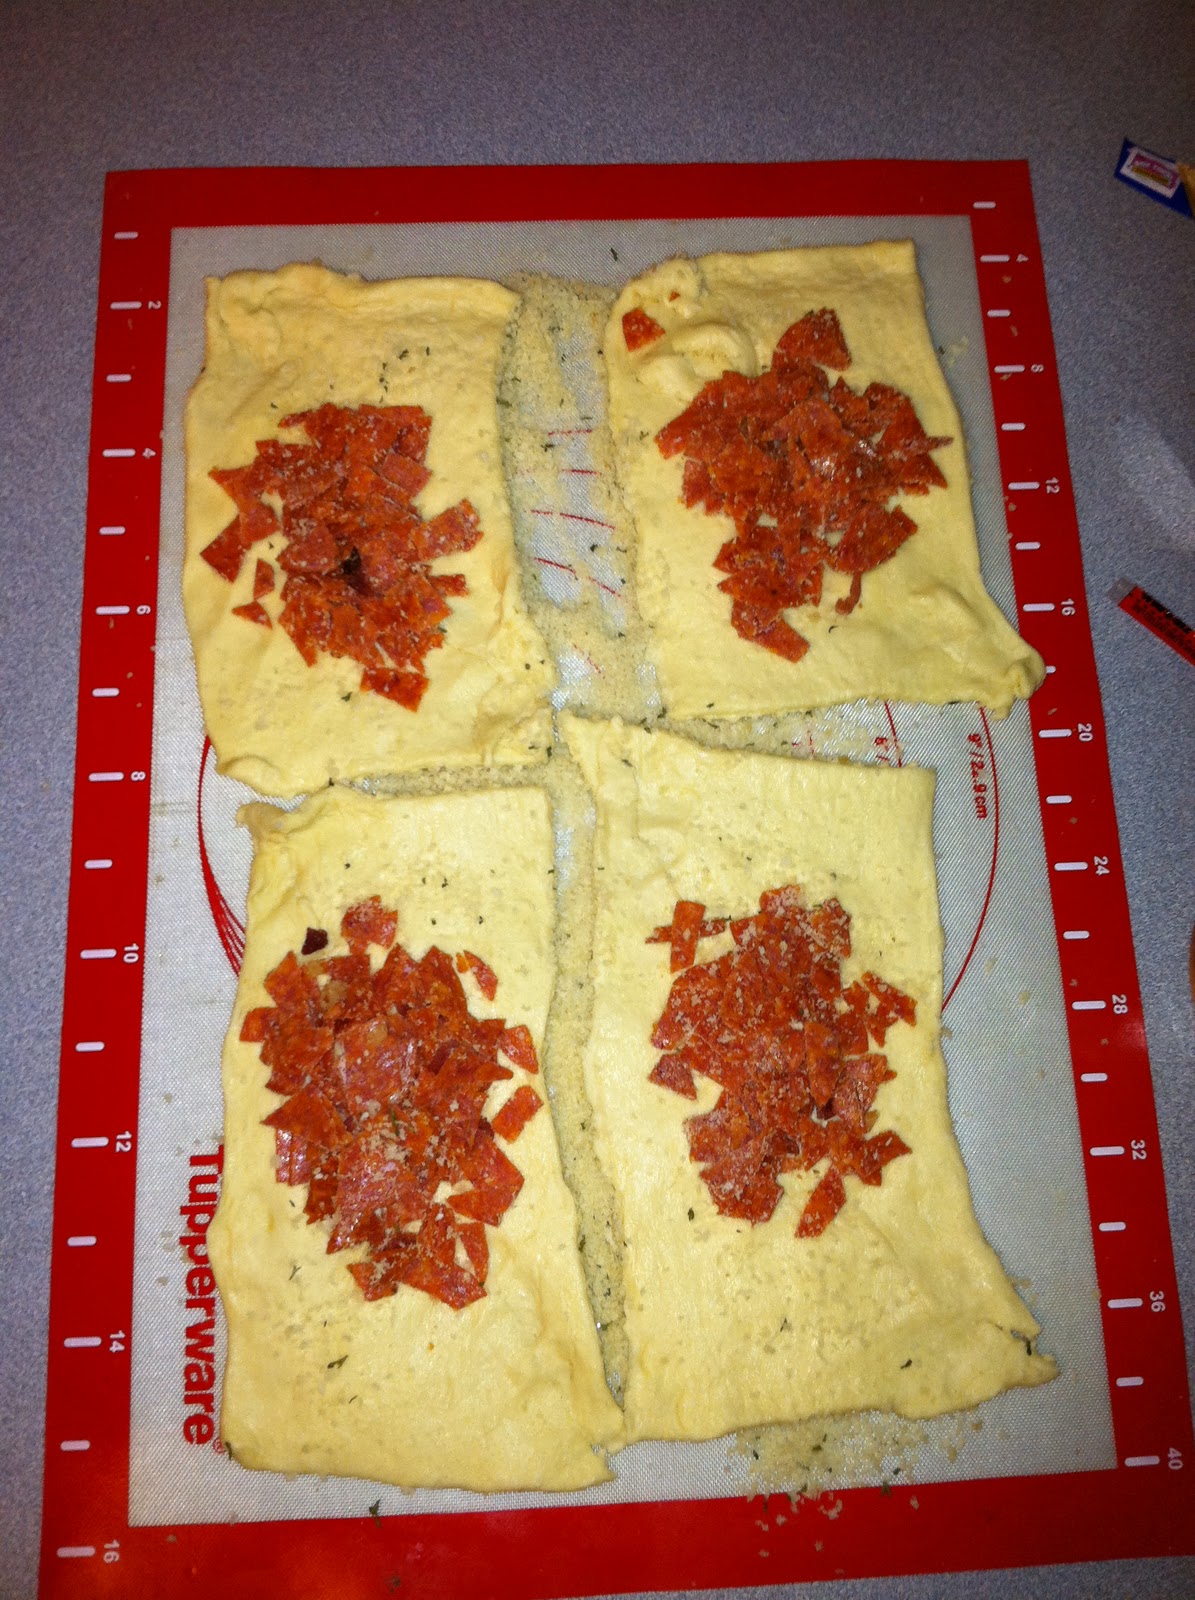

Homemade Pizzas


  • ready to bake personal size pizza crusts (3 per pack)
  • Kraft shredded Italian cheese, 2 bags
  • pepperoni
  • 1 jar Ragu pizza sauce
  • real bacon pieces
  • vegetable oil

Preheat oven to 450 degrees.  Lightly brush each crust with oil.  Spoon sauce into center of crust and spread evenly to edge.  Top with cheese, then meats.  Lower temperature of oven to 425 degrees.  Bake pizzas until cheese is melted and crust just begins to brown on edges.

I was easy on the bacon, but it was a tasty addition.  The cheese was very good.  Much better than just plain mozzarella.  This is a plain, basic, super easy recipe that my kids really love.  The crust is neither crispy nor chewy so it's a change from the frozen stuff we get.

Since Thanksgiving is around the corner, I'll have a new recipe or two to try.  I know I'll be adding an Oriental Coleslaw recipe, and probably my whipped potatoes recipe.  If I start feeling froggy I might dig out my old notebook I used to use that I copied my mom's recipes in when I first got married.  =)

Have a great day.

Happy Veteran's Day to any of you who may have served!  And a big, heartfelt THANK YOU!

Stephee

Saturday, November 5, 2011

Homemade Butterfinger


1 lb. candy corn
16oz jar peanut butter (I used JIF)
16oz pkg. chocolate candy coating (I used CandiQuik)

Melt candy corn in microwave on high 1 minute. Stir and continue cooking in 15-second intervals til melted, stirring after each interval. Stir in peanut butter. 


Spread mixture in an 8x8 pan lined with parchment.


 Cool completely. Cut into squares. 


Dip in melted chocolate candy coating. Lay on waxed paper to set.


My kitchen has no ventilation and I live in the South, so I had loads of humidity going against me with this recipe.  I ended up refrigerating my candy before coating it with the chocolate because the orange stuff just wasn't setting.  I had no trouble after it chilled for a bit.  Now, the center does NOT have the same texture as a Butterfinger.  It isn't crispy, it is soft.  I do think if it is kept chilled, possibly even frozen for a little while, it will crisp.  It's also not quite as salty as the candy bar, and if I try to make this again, I will consider adding a little salt to the mix.  Don't confuse these comments with dislike though, it's a very tasty candy.  Candy corn is also available year round if you look in the right spot at the grocery store.  It was quick and easy to make, and if you'd like to surprise people with a unique party dish, I'd suggest trying this.  I also think it might have been tasty with a white chocolate flavored candy coating to shake things up a little.

Stephee

Monday, October 31, 2011

Peanut Butter Cheese Ball


  • 1 package cream cheese, room temperature
  • 3/4 cup creamy peanut butter (I used JIF)
  • 1 cup powdered sugar
  • 2 Tbsp packed brown sugar
  • 1 bag mixed peanut butter and chocolate chip morsels (I used Nestle Tollhouse)
  • apples, graham crackers or other desired serving snacks

Beat sugars, cream cheese and peanut butter in large mixing bowl until well blended.


Spoon mixture onto large piece of plastic wrap.  Pull up corners and twist together, forming a ball.  Freeze for at least 90 minutes.


Pour bag of morsels onto flat surface.  Unwrap ball and roll in morsels.  Press morsels by hand into ball if needed.  Cover and refrigerate until ready to serve.


My peanut butter addicted family seemed to enjoy this.  The graham crackers were preferred to the apples for most.  I accidentally left mine in the freezer for 5 hours before adding the morsels, but it was still quite pliable and easy to work with.  I made this a day before the party and kept it in the fridge.  It stayed very soft.  I believe I could have kept it in the freezer up until the point of serving and still had a good dessert.  It's definitely something you can make ahead of time.  Enjoy!

Stephee


Saturday, October 22, 2011

Honey Sesame Chicken & Fried Rice


I adapted a Honey Chicken Recipe and a Fried Rice Recipe to what ingredients I have on hand at home.  The only things I purchased that I don't normally have crammed in a pantry are the sesame seeds and the rice vinegar.  But, I love toasting sesame seeds and adding them to coleslaw and other recipes so I'll use them.  I'm sure I'll make this honey glaze again, so the vinegar isn't a bust either.  Now, here is my adaption of the recipes.


SESAME CHICKEN

Chicken Ingredients
  • 1 c flour
  • 2 tsp garlic salt
  • 1 tsp onion salt
  • 1/4 c cornstarch
  • 1 c milk
  • 1 lb chicken breasts, cut into 1" pieces
Combine dry ingredients.  Dip chicken into milk, then into dry mix and deep fry at 350 degrees for about 2 minutes, or until pieces float to top of oil.  Drain on paper towels.


Sauce Ingredients
  • 1/2 c water
  • 1 tsp rice vinegar
  • 1 tsp cornstarch + 1 tsp water mixed
  • 1 tsp ground ginger
  • 1.5 Tbsp minced garlic
  • 2 Tbsp oil
  • 1/4 c honey
  • sesame seeds

Heat oil in wok or nonstick pan over medium heat.  Add ginger and garlic and saute for 30 seconds.  Add honey, vinegar and water.  Add in cornstarch mix.  Simmer for 2-4 minutes, or until sauce begins to brown. Pour over chicken and mix.  Garnish with sesame seeds.  


FRIED RICE
  • 4 c cooked cold white rice  (if it isn't cold, it makes it sticky and gooey)
  • 2 Tbsp onion flakes
  • 3 Tbsp soy sauce
  • 2 large eggs
  • 4 Tbsp oil, divided
  • parsley leaves to garnish
Heat 2 Tbsp of oil in wok or nonstick pan.  Add eggs and scramble.  Remove eggs and wash out pan.  Heat remaining 2 Tbsp oil.  Add rice and mix with wooden spoon to prevent clumping.  Heat for about 3 minutes, then add onion flakes and soy sauce.  Heat for additional 2 minutes.  Add eggs and parsley and mix in pan.  Serve hot.


Though the fried rice is a basic recipe, it's not great.  The chicken was quite good and was a major hit with both my kids and my husband.  That is a rare event for me to please them all.  I told my husband next time I wanted Sesame Chicken, we were going to our favorite Chinese restaurant because this took too long.  But since I have done it, I think should I choose to try it again, I'll sail through it in half the time.  I can't say I'll try the rice again though.  I'll stick to a seasoning packet suggested by my sister next time I feel the need to make Chinese at home.  I'm having flashbacks of my homemade egg rolls now.  My kids loved them, but they were a PAIN to make.  Sometimes  I think takeout is okay.

Stephee 


Wednesday, October 19, 2011

Chicken & Dumpling Pocket Casserole


This has been a week full of testing recipes I found on Pinterest.  Earlier this week I tried Pilsbury Garlic Butter Crescent Rolls in a pizza bite recipe.  I bought the same flavor for this test recipe.  The pockets have a bit of a crunch where they are browned, but a chewy dumpling-like texture where they cooked in the soup mixture.  Inside is almost like a pot pie, minus the vegetables.  Here is what I did:


Ingredients


Soup mixture

  • 1 can cream of chicken soup
  • 1/2 c shredded cheese
  • 1/2 c milk
Filling
  • 2 c shredded chicken
  • 4 oz cream cheese, softened
  • 3 Tbsp butter, softened
  • 1/2 tsp paprika
  • 1/2 tsp chili powder
  • 1 tsp onion salt
  • salt and pepper to taste
  • 2 tsp parsley flakes
  • 1/2 tsp garlic salt
  • 2 tsp milk
  • 1/2 c shredded cheese

Beat cream cheese and butter until smooth.  Add all herbs and spices and beat.  Add milk, using more or less depending on consistency.  You want it to be thick enough to spoon, but not thing enough to be drippy.


Add cream mixture to prepared chicken and add shredded cheese.  Mix well, and set aside.  Prepare soup mixture with ingredients listed.  It does not need to be heated, just mixed well. 


Roll out dough, pressing together the seams of 2 triangles to form a square.  Top each square with a heaping spoonful of chicken mixture.


Fold dough over mixture, then turn over and press down slightly to  form the pockets.


Spray 13x9 casserole dish with nonstick cooking spray.  Pour half of the soup mixture into the dish.


Place pockets in pairs into the dish.  Pour remaining soup mixture over pockets.


Bake at 350 degrees for about half an hour.  If desired, during the last 10 minutes of cooking, sprinkle 3 Tbsp of Italian seasoned breadcrumbs over pockets for a bit of a crunch.


These turned out to be very flavorful since I used the garlic rolls.  I think they would have been better with just regular crescents.  The filling packs a lot of creamy flavorful punch in a small bite.  The kids weren't very much into this dish, but they have never been fans of pot pie or dumplings.  This recipe is a combination of the two.  But for those of us with a taste for more than ketchup covered fried foods, these are a very comforting cold weather meal.  Enjoy!

Stephee


Tuesday, October 18, 2011

Make your own Febreze!

I'm not posting a photo, you know what Febreze looks like.  My cousin repinned this tip on Pinterest today.  I simply had to try it.  I love Febreze.  I hate paying up to $5 for a bottle of scented water though.


  1. Open empty Febreze bottle.
  2.  Add 1/8 c of your favorite fabric softener, 2 Tbsp baking soda, and fill with HOT water.
  3.  Put top back on bottle and shake.
You have your own bottle of homemade fabric refresher.  I just did it.  It's awesome.  Depending on your fabric softener, you may want to add a little more.  Some scents are stronger than others.  I used Gain Island Fresh.  It's not a very concentrated softener, so it's not too thick.  I could probably have used a little extra.  But I like my Febreze to be strong.  If you use an inexpensive, watery brand you may want to double up to 1/4 cup. 

I will NOT be buying another bottle of fabric refresher ever again.  As a matter of fact, when I get my next bottle of fabric softener in my preferred scent, Apple Mango Tango, I'll probably dump out my other bottle of store bought refresher and replace it!

Stephee

Monday, October 17, 2011

Pepperoni Pizza Pockets


As you can see, I played around with the shape of my crescent rolls when making these.  I couldn't take another frozen pizza.  My girls were browsing through my recipes with me, and we saw one for pizza bites.  It was supposed to be canned biscuits cut up, rolled in cheese and pepperoni, and then baked.  While I was picking my crescent roll dough for another recipe, I saw Pilsbury has garlic butter flavored rolls.  Sounds perfect for pizza rolls to me!  So, the following is what ended up being created in my kitchen tonight.


Ingredients

  • 2 cans garlic butter crescent rolls (regular flavor will work of course)
  • 1 c Italian style panko bread crumbs
  • 1 package pepperoni, chopped
  • 1 c shredded mozzarella cheese
  • 0.25 c grated Parmesan cheese
  • handful of real bacon bits
  • 1 jar of pizza sauce

Directions


1. Preheat oven to 350 degrees.  Spray baking sheet with nonstick cooking spray.

2. Mix pepperoni, bacon pieces and Parmesan cheese.


3. Spread bread crumbs on a clean surface.  


4. Roll out dough onto crumbs.  If making pockets, press seams of two triangles together to form a square.  Otherwise, separate triangles and coat both sides with crumbs.


5. Top dough with pepperoni and mozzarella.


6. To form pockets, pull opposite corners together in the center, and press firmly to seal. To make a stuffed pizza slice, add a second piece of dough and pinch together seams.  For crescents, simply roll.


7. Bake until dough browns, approximately 20 minutes.  Serve with pizza sauce.


I tasted these, and they were fantastic.  They smell delicious when you are preparing them, so if you aren't hungry when you start you should be by the time you are finished.  It only took me about half an hour to get everything done, including clean up.  These are much better than a frozen pizza or a frozen pizza pocket.  It's a tie with our homemade pizzas though.  The panko crumbs add a crunch to the soft dough, so don't leave those out if you can help it.  I hope you try these and enjoy them.  I have 2 more cans of the garlic butter crescents to use for tomorrow's experiment which will include chicken and cream cheese.  Stay tuned!

Stephee